Hi all,
I’ve been asked a couple of times by folks new to the board how to get images onto enclosures, so I thought I’d write it all out once and for all. These are just general suggestions and lessons learned, usually the hard way… Any tips you folks want to add, please do. I’ll skip painting tips, because everything I know about that I learned from stickys in this forum anyway…
Templates: First thing I do when a new kit shows up is make templates. Hold the enclosure upside down on a piece of paper and trace it. Color in the holes for knobs, jacks and switches, and trace the outline. Do a separate template for the top and any sides that will be decaled. The knob holes are never quite straight or even, even with Keith’s new CNC machines, and you want your labeling to line up with the knobs. Then scan your templates. Remember to “mirror” the images once scanned, and to check your measurements- sometimes things get rescaled in the scanning process. If you’re not sure, print them out and lay them on top of your enclosure: all your holes should line up and the border of your template should match the face of the enclosure.
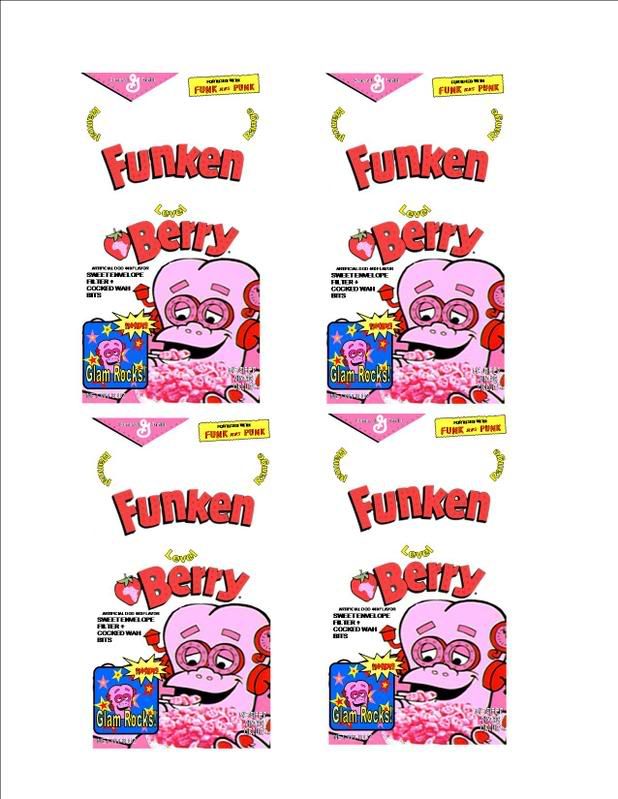
Art: Google is your friend, especially Google Images. Once you have a basic idea of what you want, search for the images and download them. Be careful if you plan on selling them, avoid copyrighted images and trademarked items. Open your template images and set them as a level or background in whatever software you are using. I use a combination of PhotoShopPro and Publisher, but only because I have copies of each and am comfortable working with them. Any image editing and/or layout software should do the trick, in fact, I’m sure many programs would work better… Start resizing and lining up the image or images on your templates, and add any text labels you want.
Fonts: Once again, Google is your friend. There are several free font websites out there, with a lot of overlap between them. Once you find the perfect font, download, unzip, and install onto your PC. XP users, you do this in Control Panel. Keep in mind you have to install the fonts on ALL the computers involved: if you design at home, but go to Kinko’s to print, your fonts will be substituted with default, standard window’s fonts. In case you are wondering, Kinko’s won’t let you install a font onto their PCs… I tried…
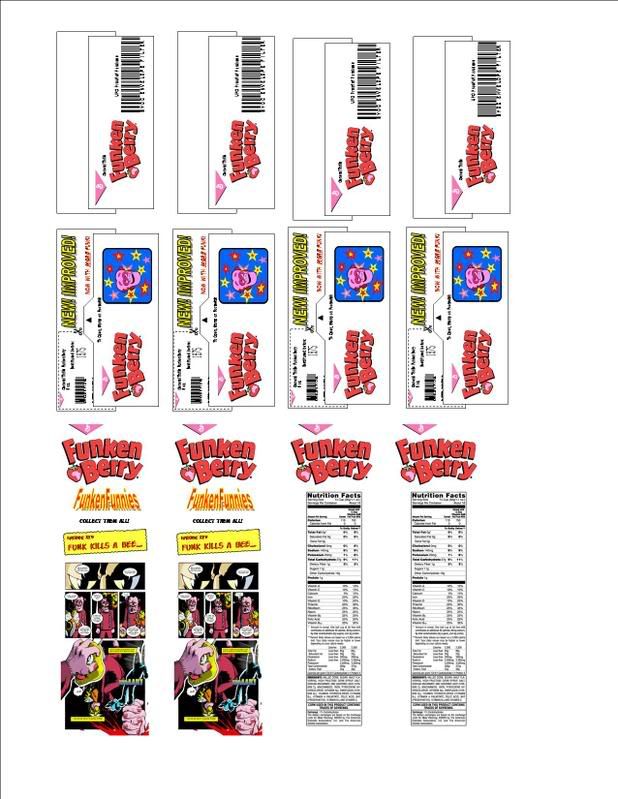
Printing: I recommend laser printers, for a bunch of reasons, most importantly because laser decal paper is much easier to deal with then inkjet decal paper. Unlike inkjet paper, you do not have to clearcoat your decals before applying the laser decals, as the images won’t run when wet. Laser printers are pricier than the standard inkjet models, but they aren’t that bad. I’m sitting next to a Samsung CLP-510, bought at BJ’s for just under 200 bucks… Print your working image on regular paper, cut it out, lay it on top of your enclosure and use a pencil to push through all your knob and switch holes (I’m assuming full face decals). Everything line up? Pop your pots through the holes and drop the knobs on. Text line up right? Make sure the knobs aren’t covering your text. Make adjustments, print, and try again. Keep doing this until you are happy with the results.
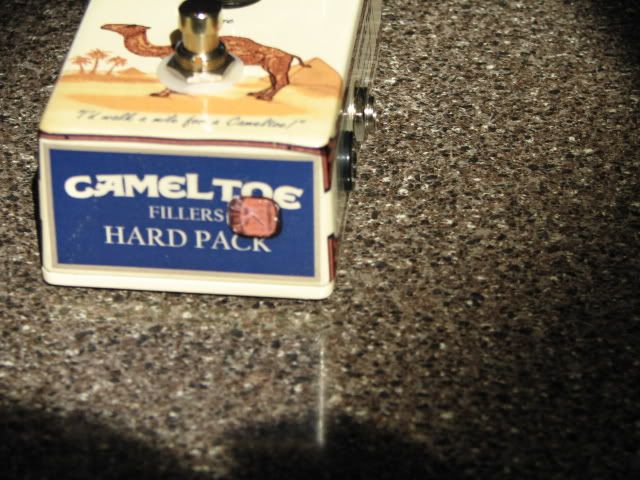
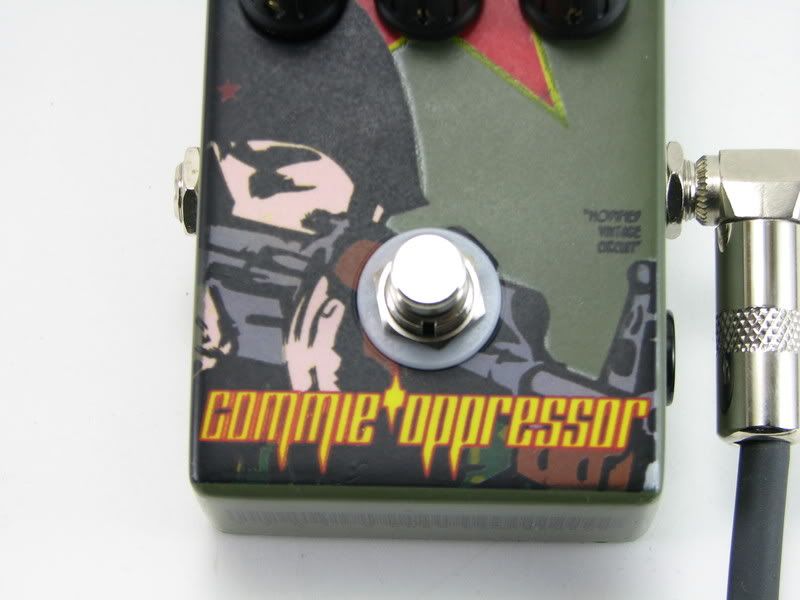
Decals: There are two basic types, clear and white, both with advantages and disadvantages. First thing to remember is printers do not print white! Any image you send to a printer assumes white paper, and any white you see on the screen is the absence of color, not actually white. There is a printer that does white, called the ALPS printer, but it is rare, expensive, and adds other problems. I’ve never seen an ALPS printer, and I don’t expect to… So, white decal paper is probably the best for images, at least to get the color you see on the screen to reproduce correctly. That said, I’ve tried both and I don’t like white decal sheets. They tend to look like a sticker slapped onto the enclosure. If you want to see the paint, if you want the decal to look painted or silkscreened on, white won’t cut it. So that leaves us with clear decal sheets… If you want color reproduction to be spot on, you will have to use white paint on your enclosure. Kind of boring, but the best bet when using full color images. You can also use light colors, like tan or gray, and you won’t have much difference color wise. Dark colors are a problem. If you paint your pedal a dark color, it will affect the color of your decal (green + yellow = blue, etc.). Solutions?
Use black or grayscale images and text.
Adjust the tint of your image so when applied it gives the desired effect (even harder than it sounds, but works well with light color paint).
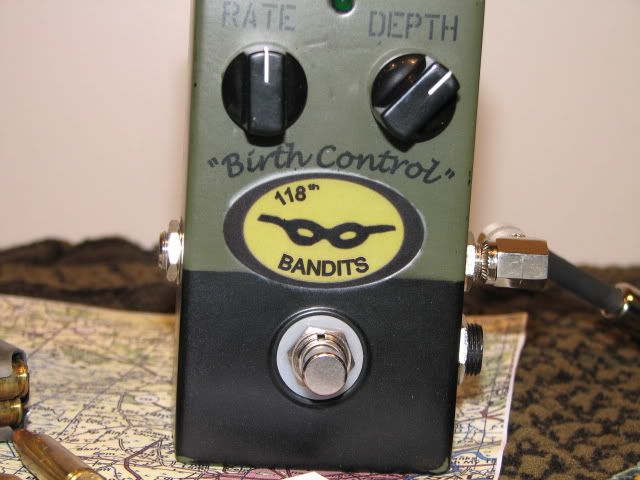
Or, stencil… lay a coat of white paint down on the area’s the image will cover. Also, you can cut out blank white decal paper in the size and shape of the image, apply, then ad the full face decal with the image and text on top.
Now, print your decals. Decal sheets are pricey, so try to fit as many copies of each side on one sheet. It may take multiple tries to get the decal on correctly, so extra copies ready to go is a big help.
WARNING- This sometimes kills printers! Decal paper is available from many different sources, from hobby shops to the internet, and they all seem different, also some printers, even the same make and model, are fussier then others. I recommend setting the printer to “cardstock”, and print when the printer is cool. If the printer is set for something thinner, or is too hot, the decal paper can wrap around the transfer drum and fuse to it. I’ve so far managed to kill one $200 printer in my kitchen, and put Kinko’s big multi grand printer out of commission. I’m really not welcome at Kinko’s anymore…
Decal application: They don’t call them waterslide for nothing… Cut to fit, soak in lukewarm water until decal starts to lift from backing paper, and slide it onto your enclosure. After positioning, squeegee out any bubbles or water underneath by blotting with a tissue. If you screw up, peel it off before it sets and try again. If you don’t want the decal to show, use full face (even when labeling the sides) and use Micro-Sol or anther decal “softening” agent. This stuff is great, and will make your decal look melted onto the paint. Got tiny bubbles? Use a pin or X-acto to pierce them, press out the water or air, and brush some Micro-Sol on… Let it set overnight, then throw on a couple coats of clear to protect your work. If you used the paint stencil or white cutout method, you may be able to see height difference due to the thickness of the paint/decal. Throw on several coats of clear, even the matte finish style, and wet sand with 1000 or 2000 grit. Repeat until the surface is level. Depending on the product and your environment, the clear coat can take forever to cure. Either wait days or weeks before final assembly, or bake the whole thing. I picked up an old toaster oven, and my track record is about 50/50: half the time it worked fine, and the rest of time something, either the paint, the decal, or the clear, bubbled up, requiring a chemical strip back to bare aluminum and a complete do-over… Not fun. Keep your temp below 200 F for safest results.
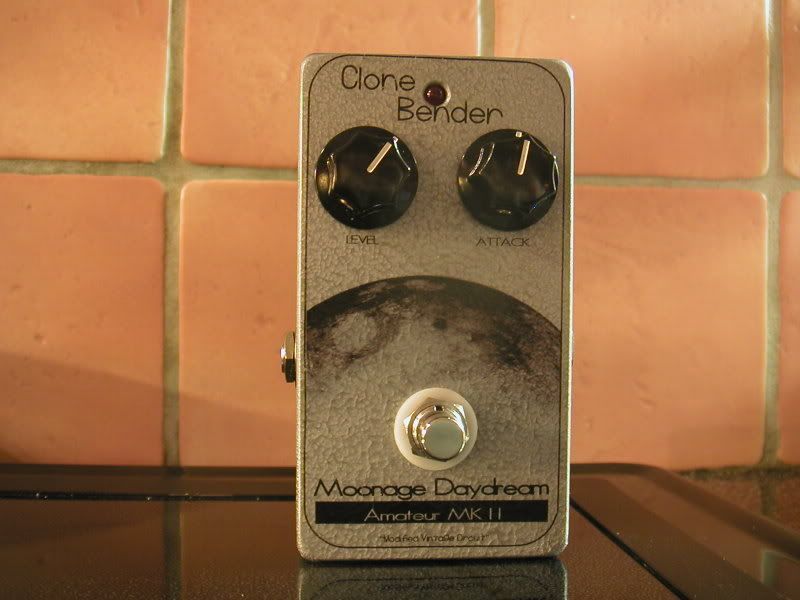
Usually, I won’t order a kit until I have an idea for the artwork. I’ll gather images and fonts and do a basic layout while waiting for the UPS man. When the kit is in my hands, I’ll do the templates, then work on the final decal prints in between paint coats. For noobs, I’d recommend starting with clear decals on a white box: you can get really good results easily, and when you have enough white pedals and start to get bored, move on to the darker colors and hybrid techniques.
-Subba